

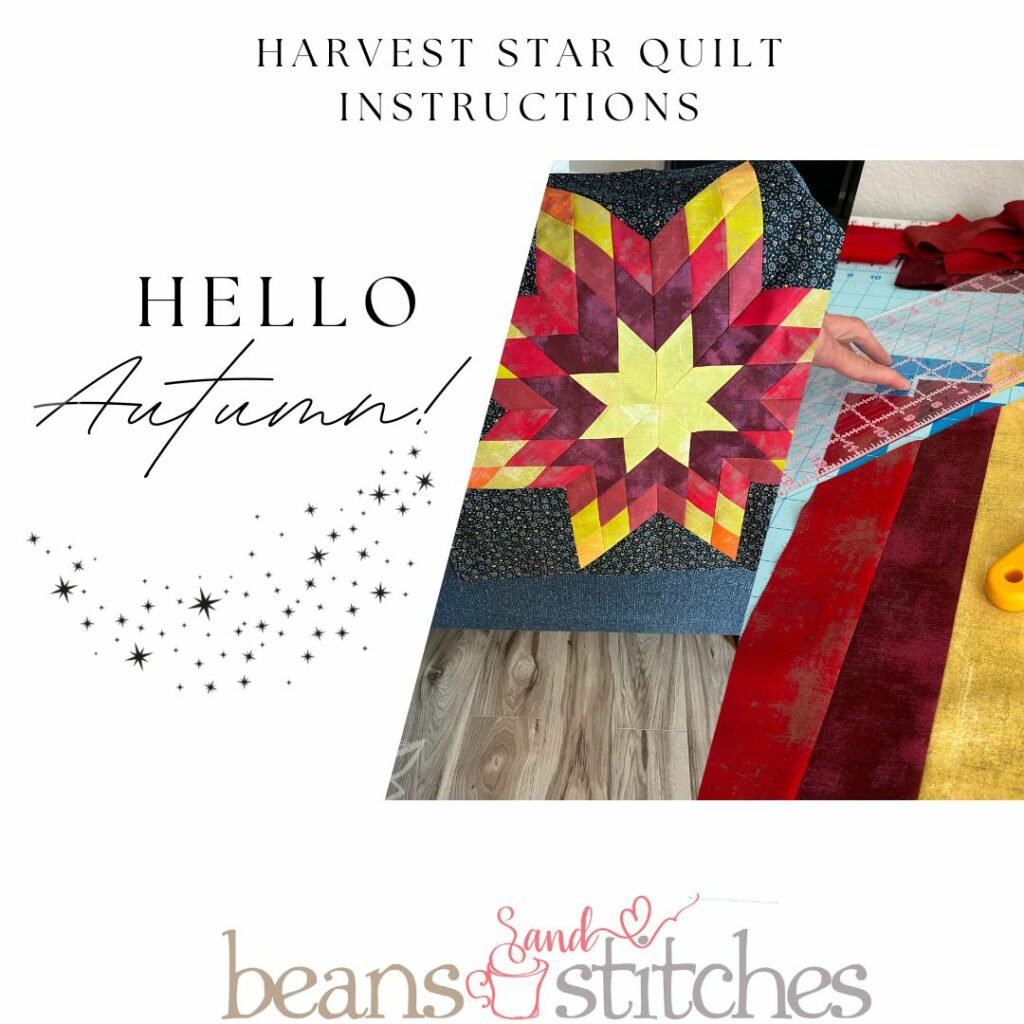
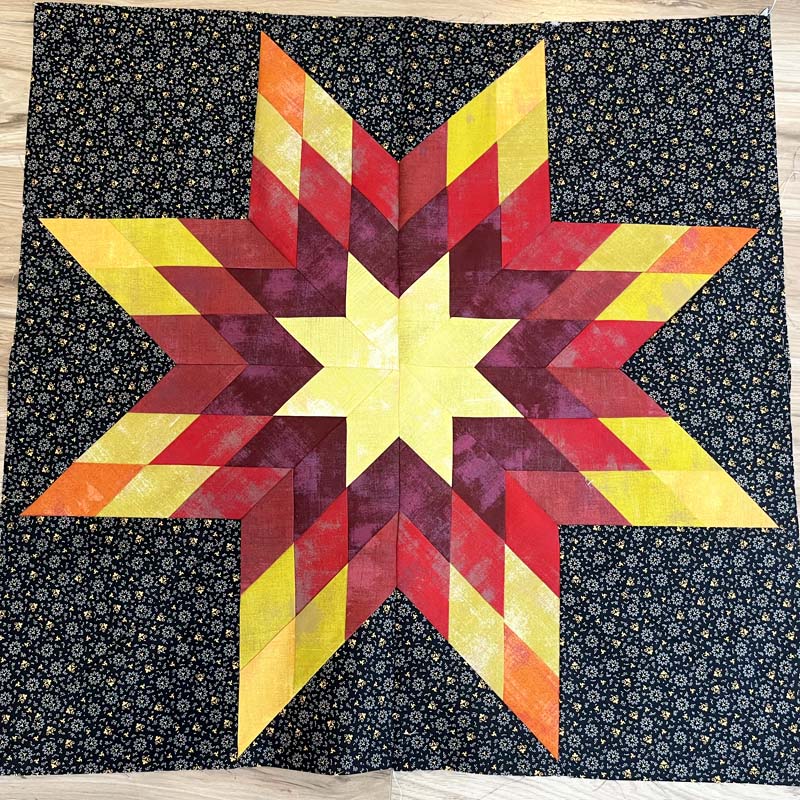
Diamonds are such a stunning design in quilts! This free Harvest Star quilt tutorial uses a jelly roll precut and is not hard for an ambitious beginner.
Directions here are given for the top quilt piece. If you need some instruction in basic quilting, see our free videos here.
Supplies You Need
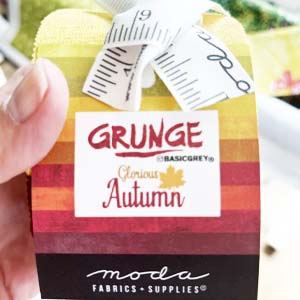
- Grunge Glorious Autumn Jelly Roll
- 1/2 yd. background fabric
- 1 yd. backing
- 1 yd. batting
- 1/4 yd. binding
- Clear quilting ruler
- Mat with a marked 45° angle line
- Rotary cutter
- Quilting thread for piecing
- Matching thread for quilting
- My favorite Magic Pins
Finished size is approx. 30″ x 30″
All seams are 1/4″.
Get Started!
The best part about making this star layout is that there are no Y seams to piece!
Cutting Background Triangles
From the background fabric cut a strip 9 5/8″. Subcut four 9 5/8″ blocks. Cut the blocks diagonally to make eight D triangles.
From the background fabric cut a strip of 7″. Subcut into four 7″ blocks. Cut the blocks diagonally to make eight E triangles.
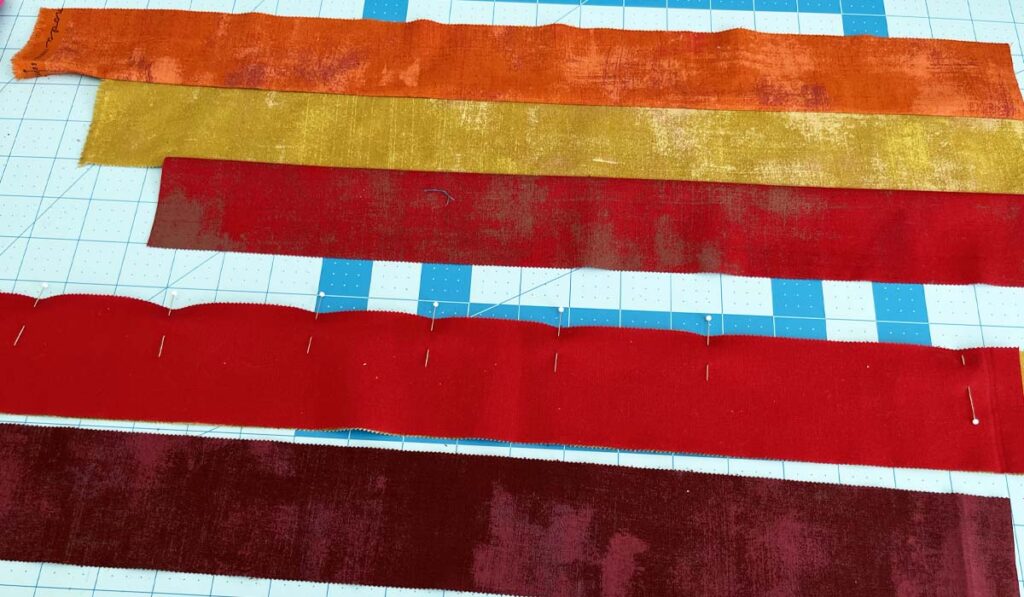
Preparing Strips to Cut
NOTE: Offset each strip by 2″ to avoid waste.
Let’s make three piles and label them A, B, and C.
A: Cut an orange, green, and red strip to 22″ long. Sew the strips together, and press seams up to orange. B: Cut a green, red, and dark purple strip to 22″ long. Sew the strips together, and press the seams down to purple/red. C: Cut a red, purple, and yellow strip to 22″ long. Sew the strips together, and press the seams up to red.
Note: In the Glorious Autumn Grunge jelly roll, there is bright red and a toned-down red. I alternated these as there wasn’t enough of one for the star.
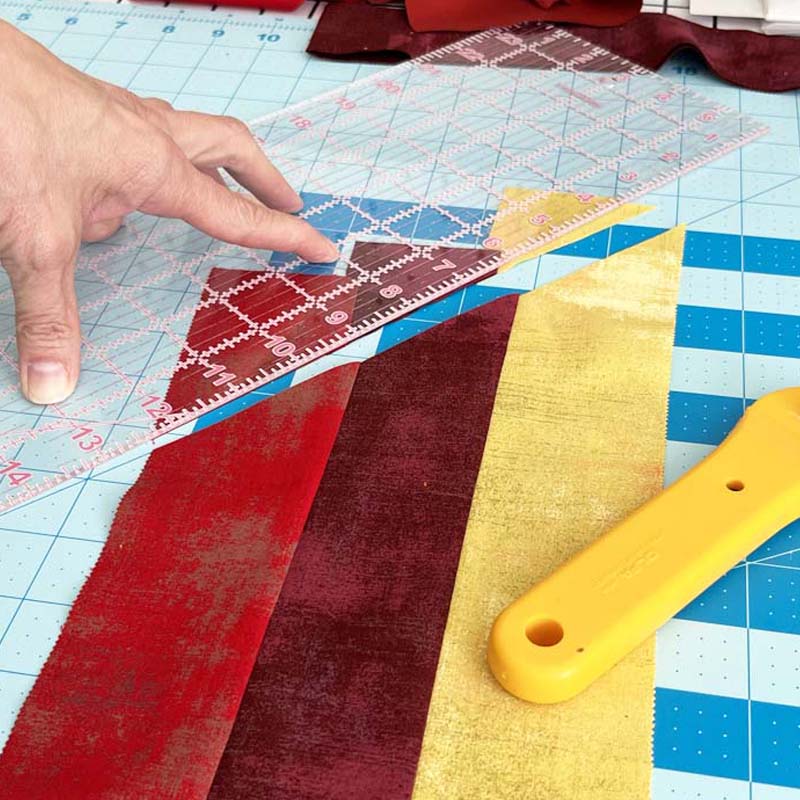
Cut at a 45° angle:
On your cutting mat, find the 45° angle and line up the strip set. Trim a small amount off. This is where keeping an offset will avoid waste.
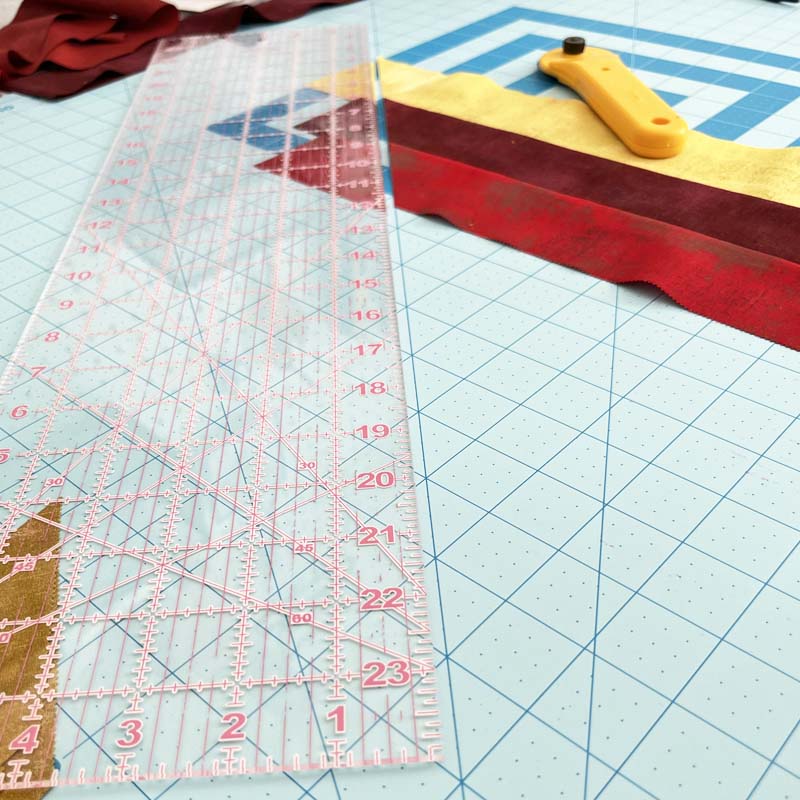
Turn the fabric 180° to start cutting the strips. Start with pile A. Line up your strip set, and then line up your ruler along the angled cut, and cut eight 2 1/2″ strips.
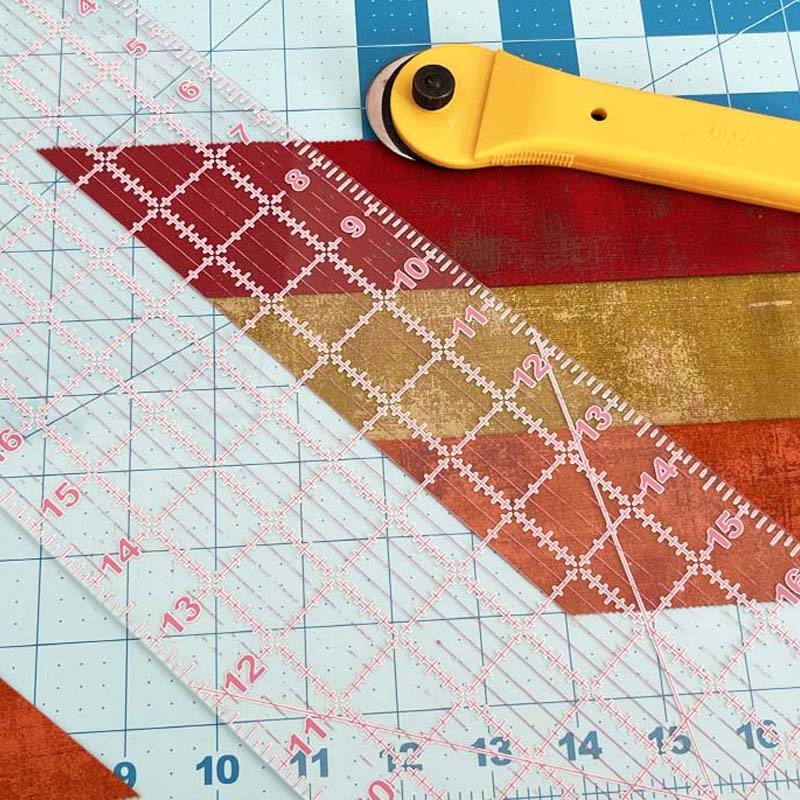
Set aside and continue with B and C.
Sewing the Diamond Strips
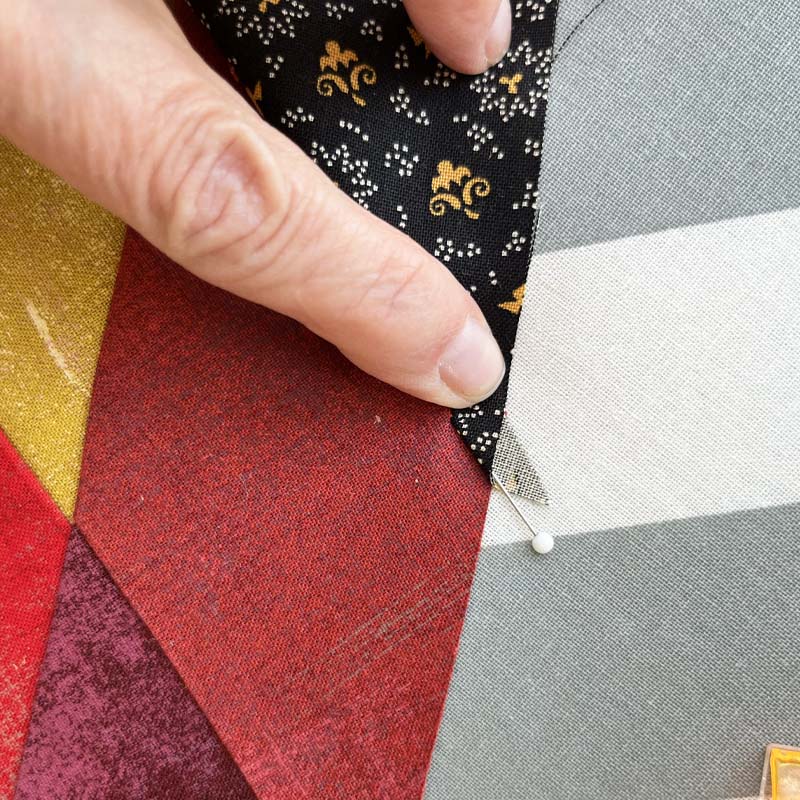
Sew strips A, and B right sides together. Sew C to B, right sides together. Make sure you are grabbing the correct strip from your piles. Your yellow is in C and makes the middle star. Match the seams by mock sewing with pins at 1/4″. Trim ears.
See the note below!
Notes: This is probably the ambitious part of the star. I was so happy I got it I forgot to take pictures of aligning the seams!
At first, I had a hard time trying to line up the seams. 1/4" needs to overhang the edge, however, this didn't always line up my seams. I started to pin a mock 1/4" seam, opening up the strips to check the alignment of the seams on the diamonds. That did it! I got really fast at putting them together. So start with a 1/4" hangover at the edge. Mock sew by pinning a 1/4" seam across the side to sew. Peek under the seam to make sure they are lined up and then sew them together. The magic pins are perfect for this step. I discovered that after I took pictures!
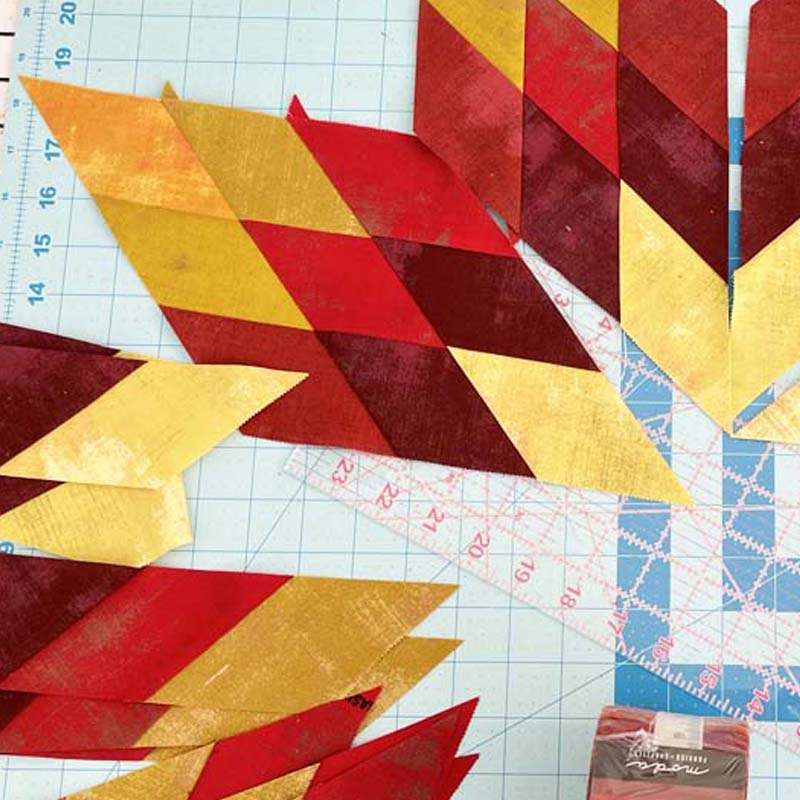
Sew the Background Triangles to the Diamonds
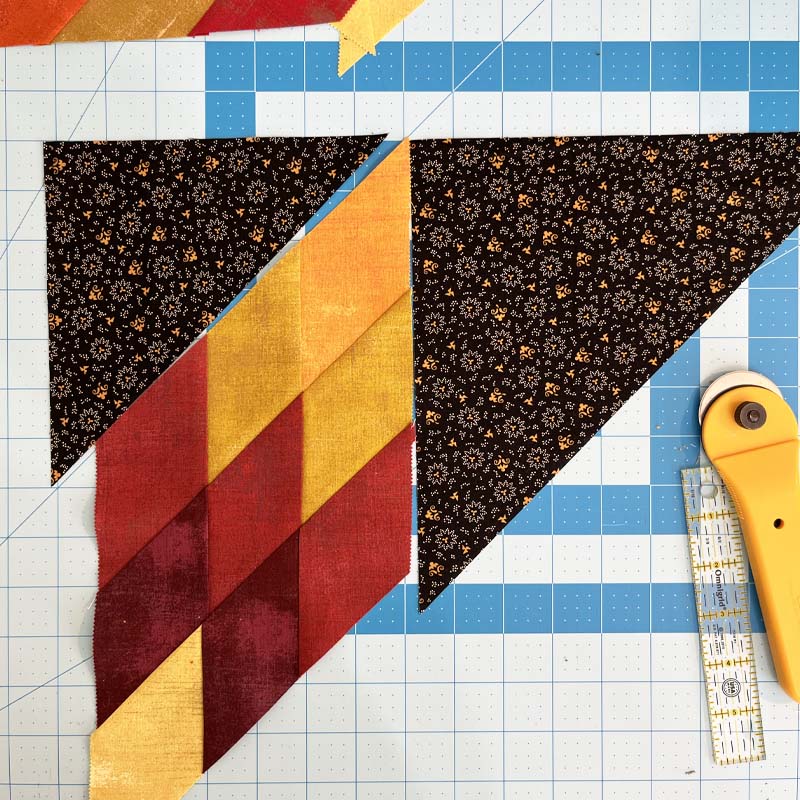
You are going to make four block sets of each layout as shown above. Press after each corner is added.
D is sewn to the left side, then E is added to the right. Make 4.
E is sewn to the left side, then D is added to the right. Make 4.
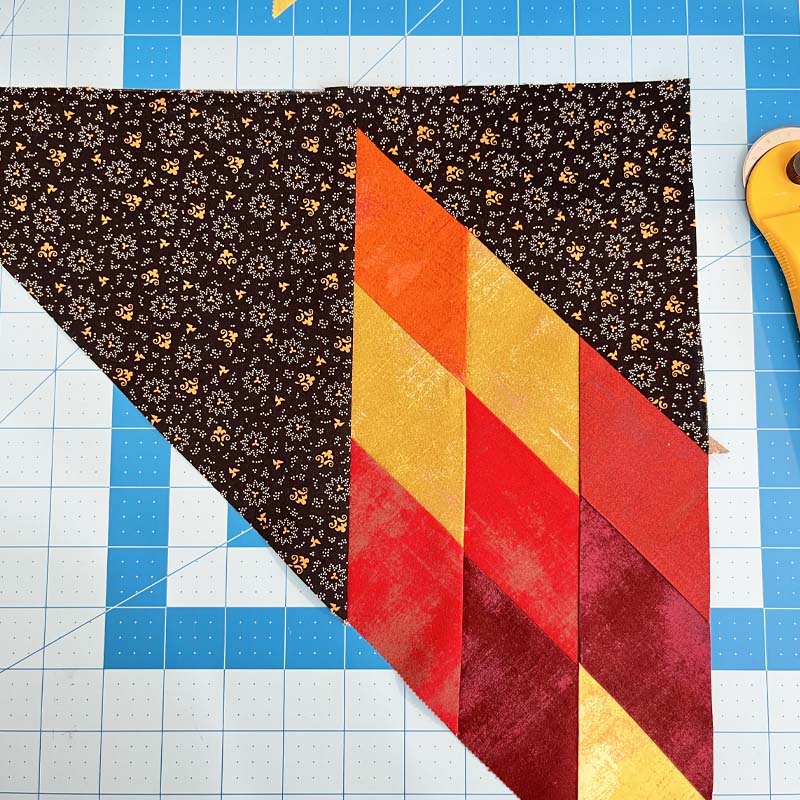
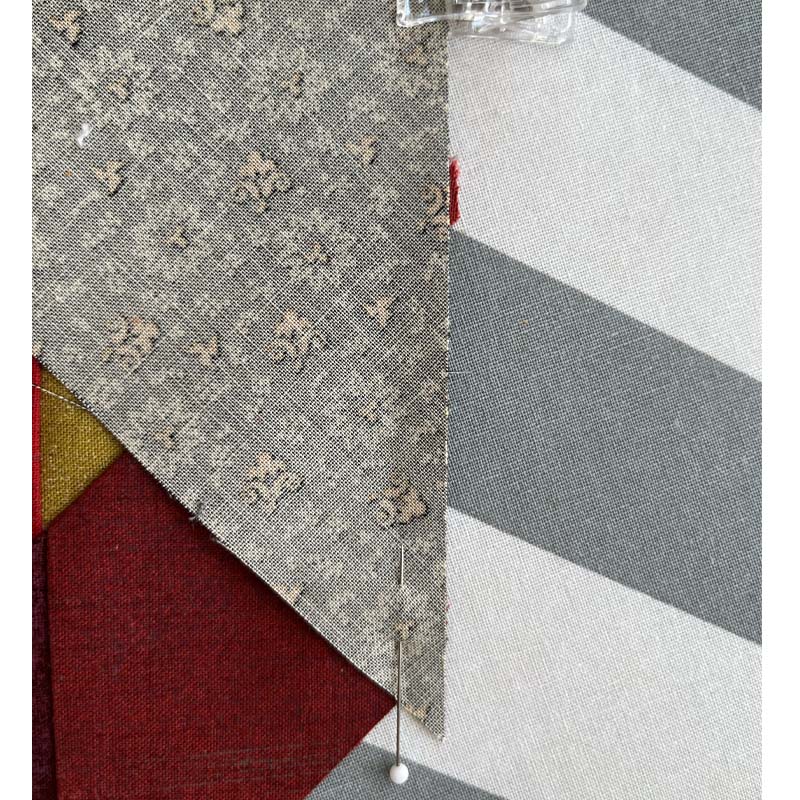
Note: In sewing the background triangles to the diamonds, you will again need to gauge the placement so the block creates a 90° angle on one side. The mock seams with pins will again help you see if you’ve placed the triangle correctly.
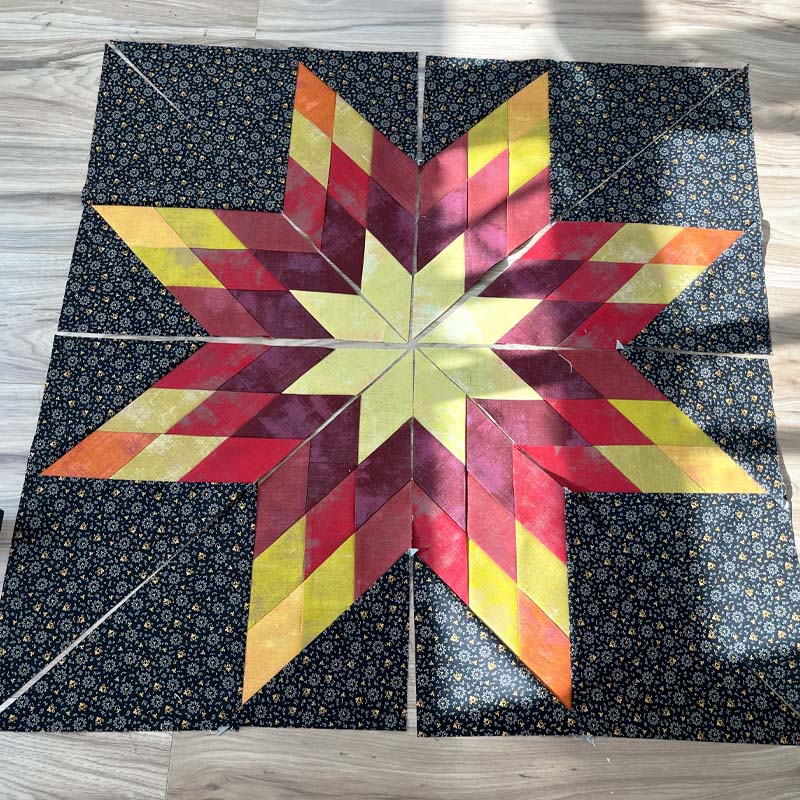
Once you have sewn the corner triangles, sew the first two top left segments, right-sides together, and press. Sew the top right segments, bottom right, and bottom left. Now, sew the top two sections. Sew the bottom sections.
Now sew the right and left sections together. The quilt top is ready to finish!
Add borders from the leftover jelly roll if desired!
Layer the quilt and quilt the layers as desired. Add a hanger before binding. Square and bind the quilt.
Again, if you need some extra quilting help, we have a few videos on our Joyous Home site that could help.
Have fun! Leave a comment if my directions are confusing anywhere, happy to try to help!
Theresa

