
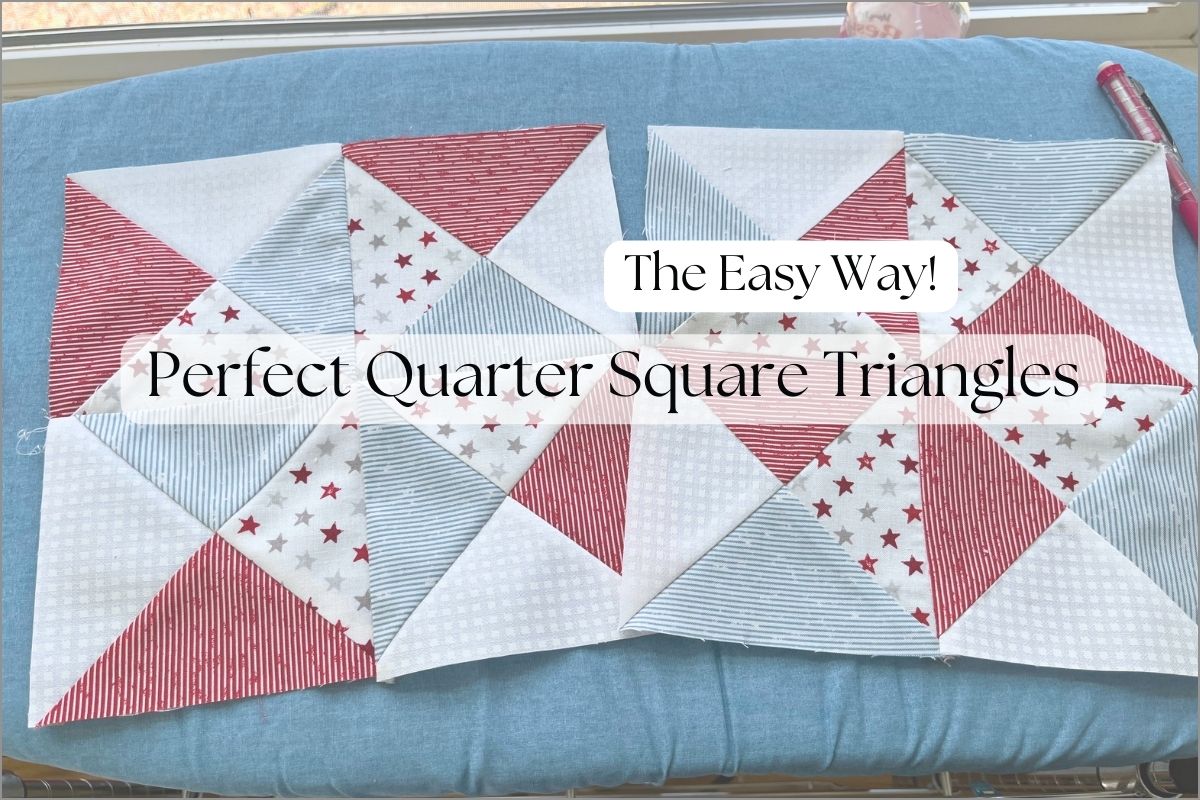
Have you struggled to get quilt triangles even and quilt blocks square? Using a few notions, quarter square triangles can be easy to make, and you CAN make a quilt block you’ll be happy with. Let’s learn to make perfect quarter square triangles.
Before the tutorial, I’ll start with the tools that make quarter-square triangles easy.
My Favorite Notions For Making Quarter Square Triangles
“As an Amazon Associate I earn from qualifying purchases.” We chose to put some recommended products through Amazon, rather than carry them in our shop. Click the arrow to learn why.
Some products are simply better deals for folks through Amazon. Any products we recommend through our affiliate are ones we have used, and would love to carry, but have no margin for us to stock in inventory. We hope our links are helpful and would love for you to use them. Thank you!
How to Use Omni Grid Trio Set
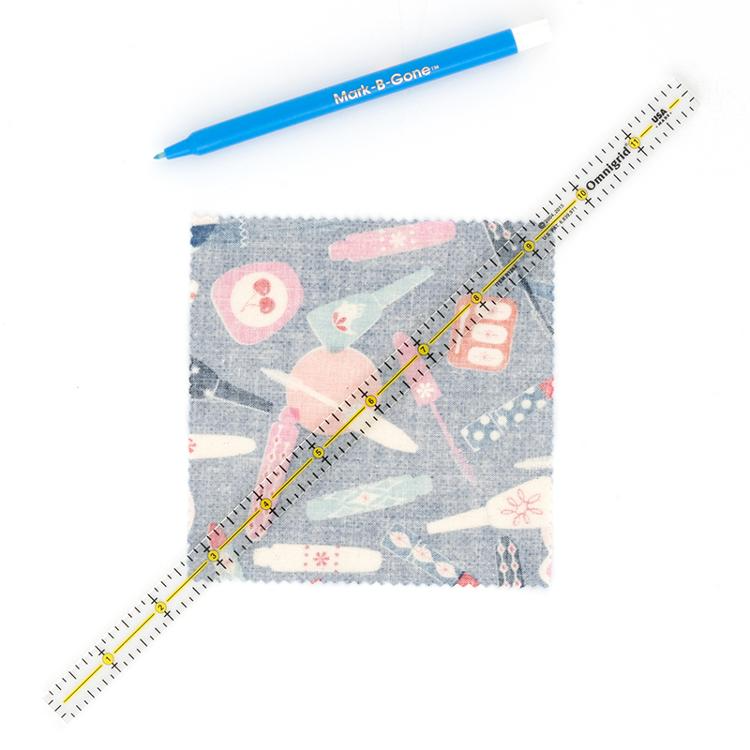
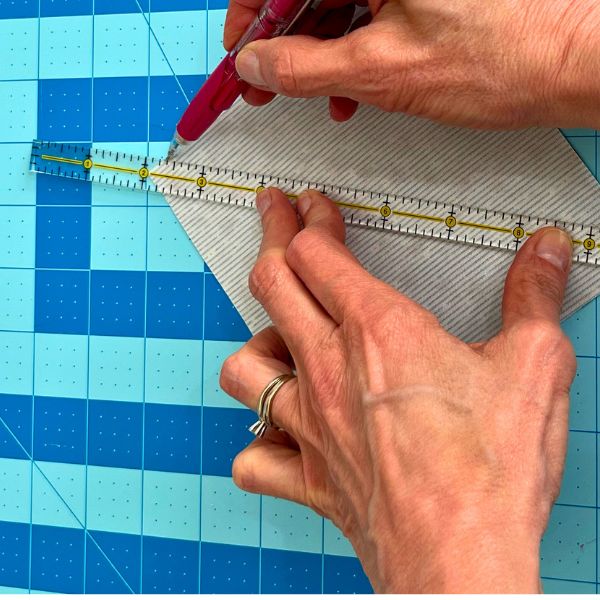
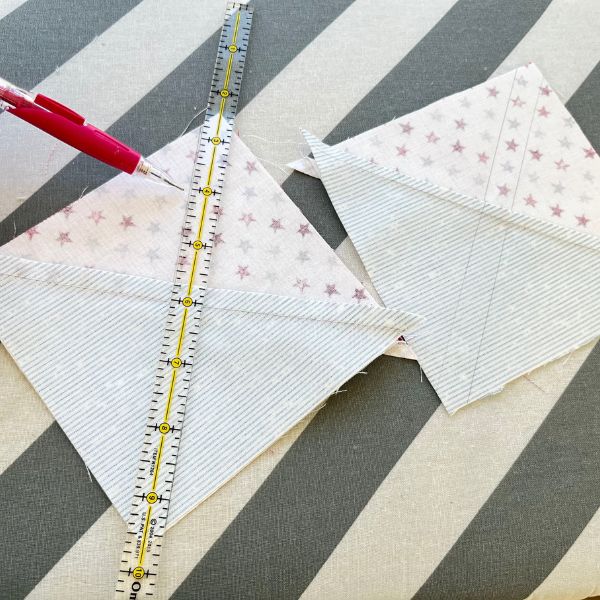
- Omni Grid Trio Set – Rather than marking tape or plastic grids, I love the ease of this tool. Line up the ruler from corner to corner on a square of fabric, and mark both sides. Layer with another square of fabric. Sew the marked lines. Line up a regular ruler in between the lines and cut.
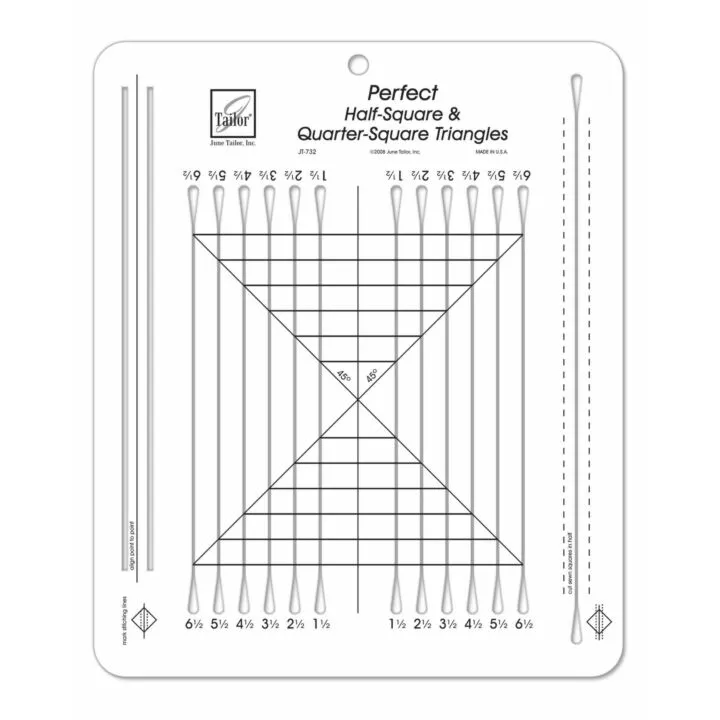
June Tailor 10×12 Perfect Half Square & Quarter Square Triangle Ruler
2. June Tailor Perfect Half Square & Quarter Square Triangle Ruler – I always had so much trouble squaring my blocks. I use this ruler to square up my completed triangle block. It will square up half and quarter triangles. You simply line up the center and pick the measurement needed, cut the left side, turn and cut the right side. Easy. My triangle blocks fit perfectly together, making my finished block perfect. (Assuming you’re using the smaller triangle blocks for a larger block 🙂 This ruler goes up to 6 1/2″.
Quarter Square Triangle Tutorial
Make Half Triangles First
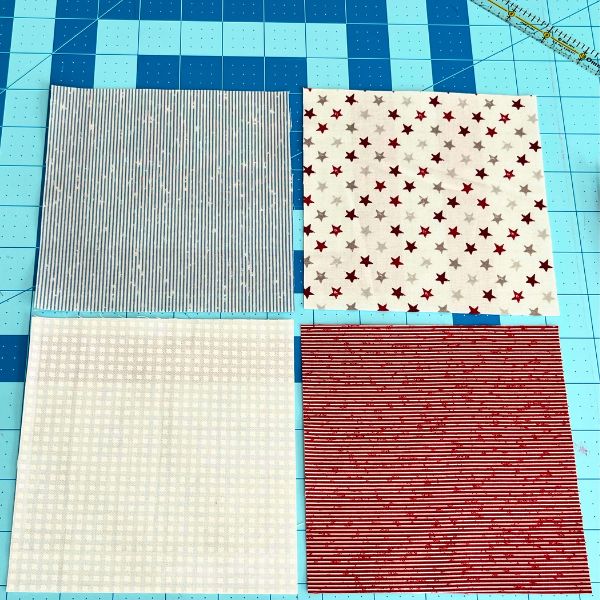
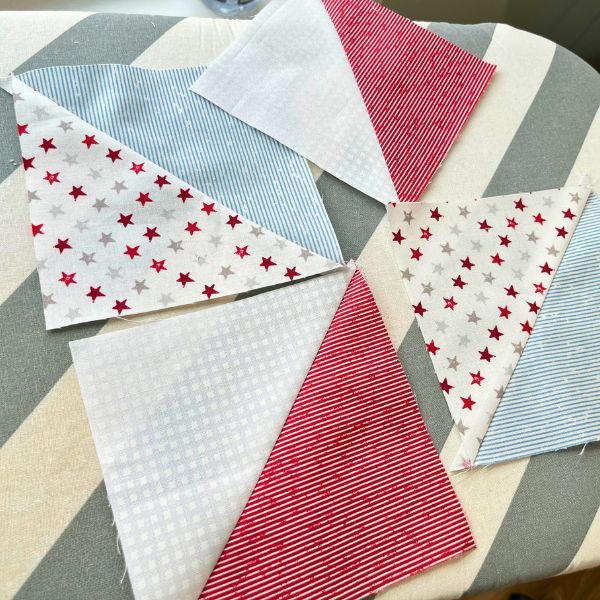
I’m making a quarter square triangle block with 4 different prints. Start with a block 1″ larger than the finished size. (The size before placing the block in the quilt.) If you have a specific project in mind, you’ll need to play with the arrangement. Normally, the lighter fabric goes on top. Using the Omni Grid ruler, line up the yellow middle line from point to point on the back of the top fabric. Draw a line on both sides of the ruler. This is your sewing line.
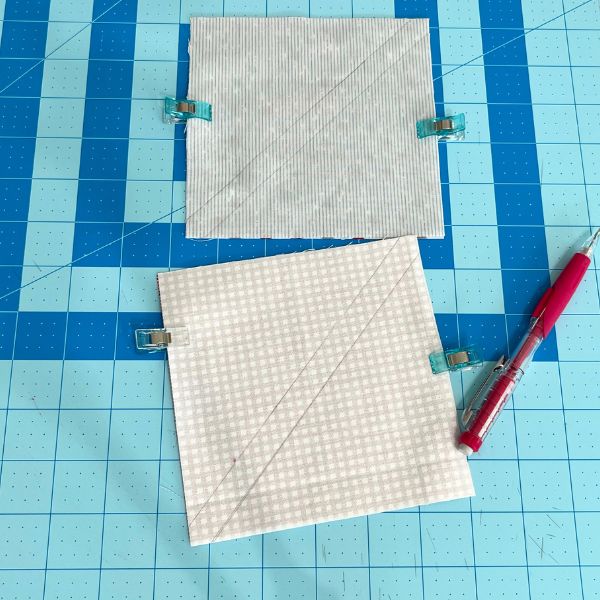
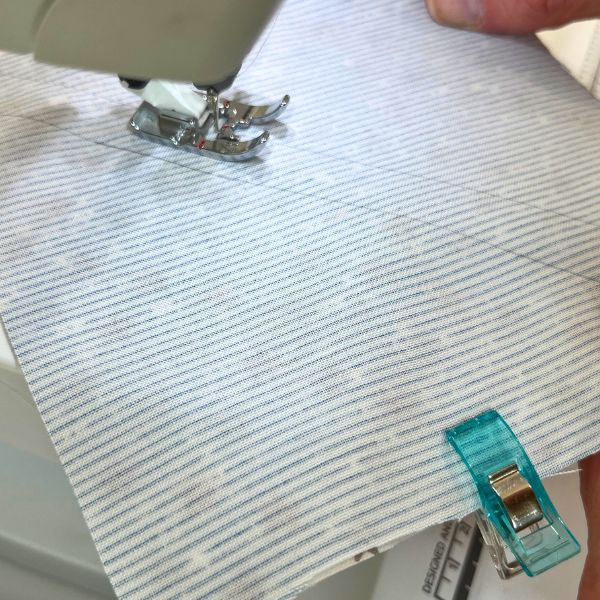
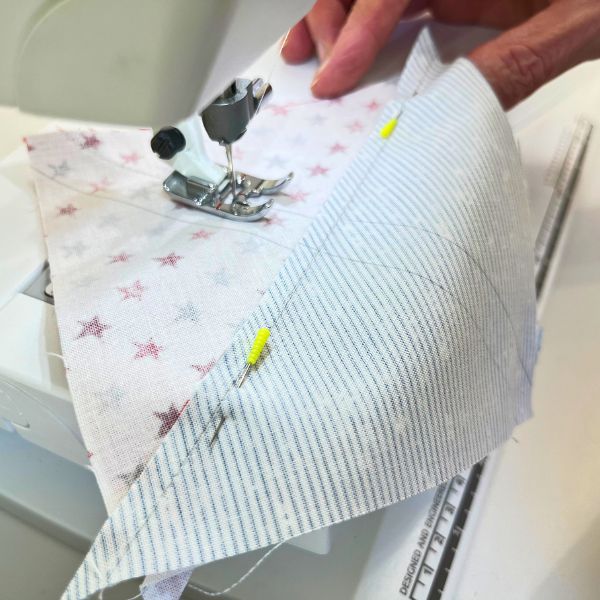
Clip or pin your squares. Sew both lines.
In between the sewn lines, use a ruler point to point and cut down the center. You now have four half-triangle squares. Press well, making sure the seam is not creased in the back.

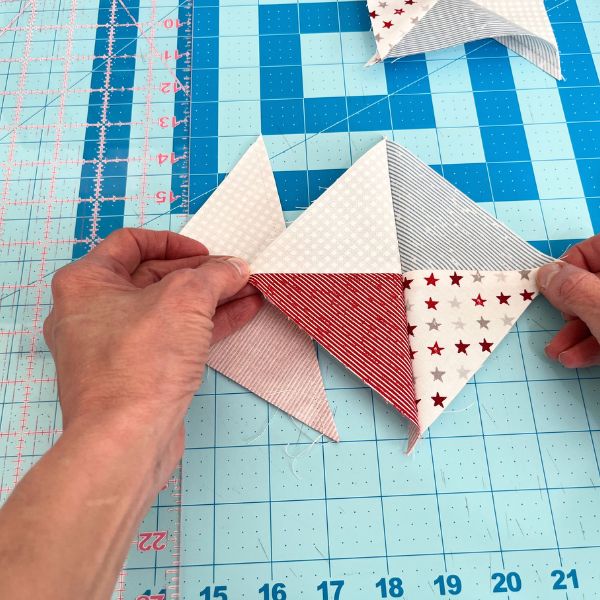
Let’s repeat the process to make the half-square triangles into quarter-square triangles. Lay the prints together, seams aligned and nested. I like to pin my seams in place so they don’t move. Sew both lines.
Before cutting these, I press them very flat. Line up a ruler point to point and cut down the center. Press open. You now have two quarter-square triangle blocks.
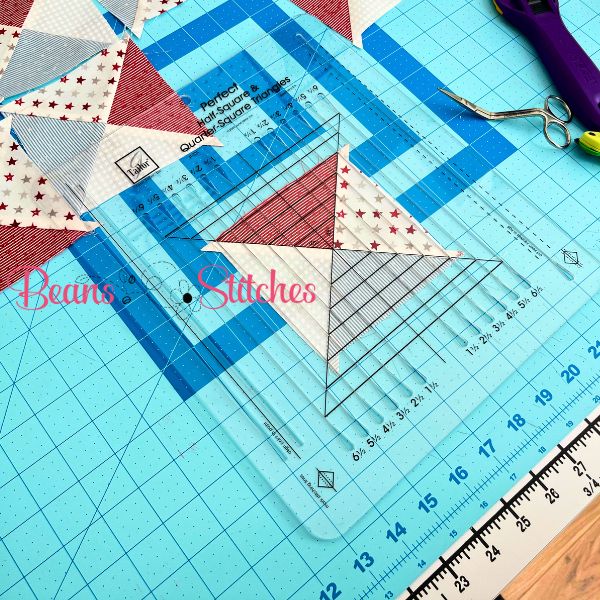
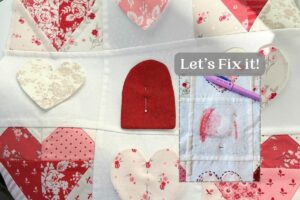
How to Trim or Square a Block to Size
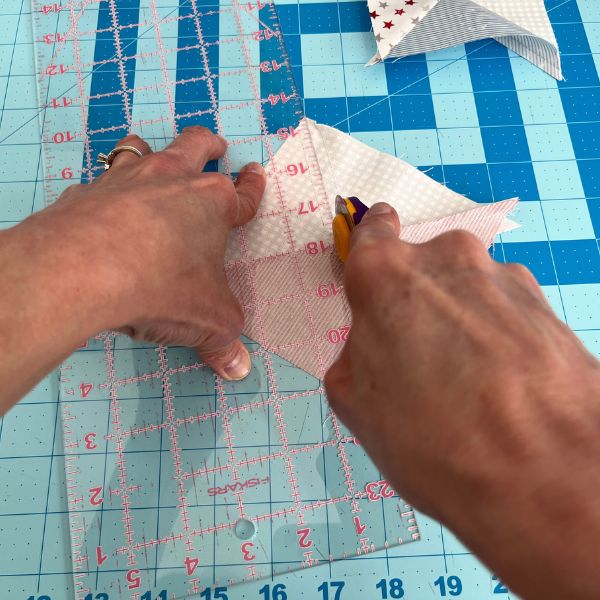
Now it’s time to use that lovely June Tailor half-square and quarter-square triangle ruler. I also like to use a smaller blade so I use the Clover 18mm rotary cutter with this ruler.
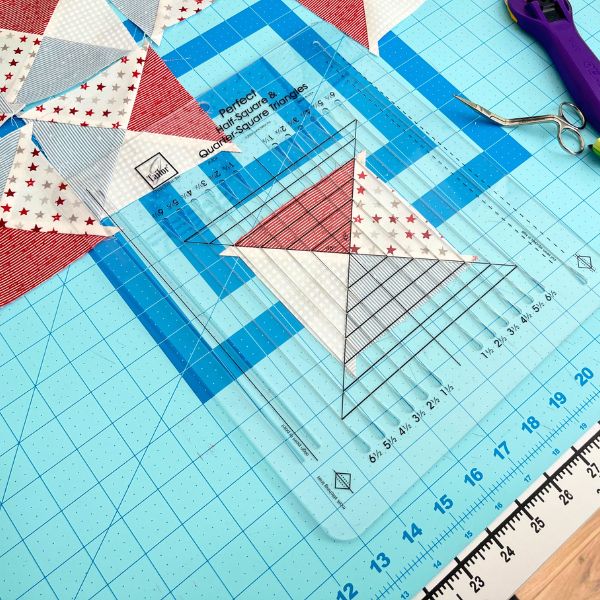
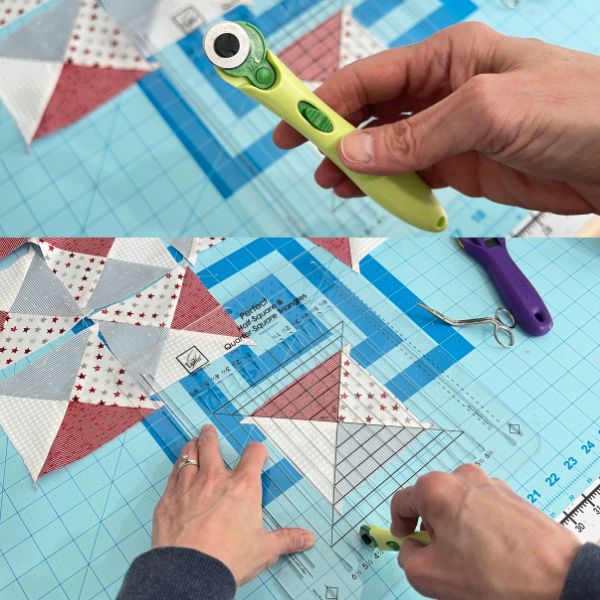
Line up the center of the block with the ruler center and lines. Cut the size needed. In my case, I started with a 5 1/2″ block, and my finished block size is 4 1/2″.
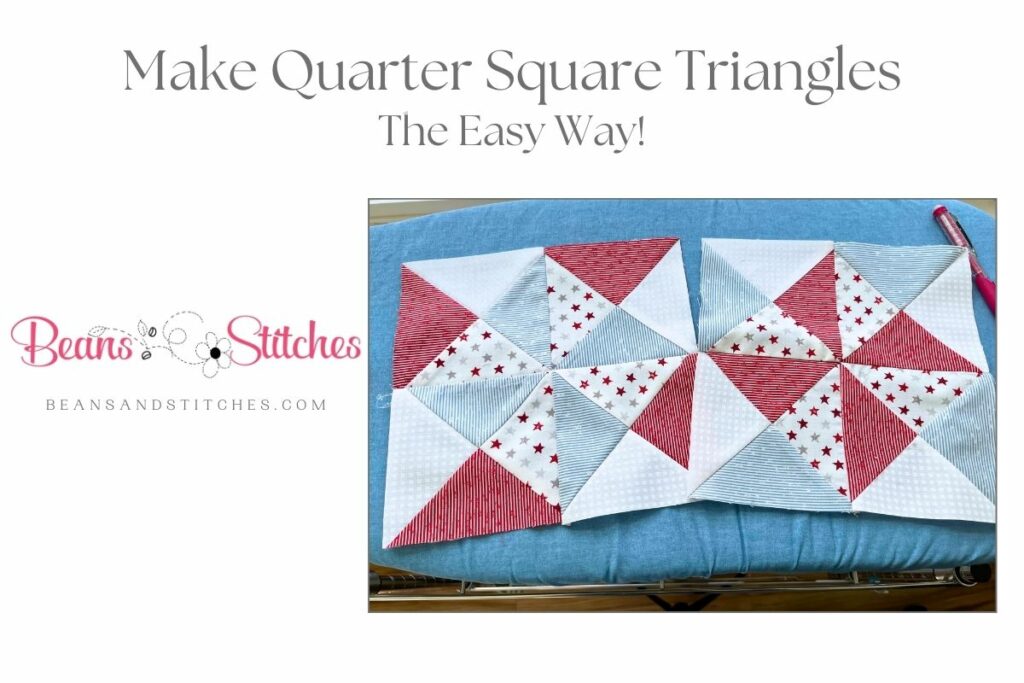
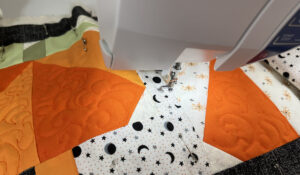
Now I’m ready to put these quarter-square triangles to use! Stay tuned for the Patriot mini-quilt runner that will use the pinwheels below!